
Brought to you by Lowe’s
Pop quiz! What is the birthstone for May? Emerald. What is the Pantone color of the year? Emerald. Oh wait, one more…Who was born in May and has been a fan of emerald since she learned it was her birthstone? Me!
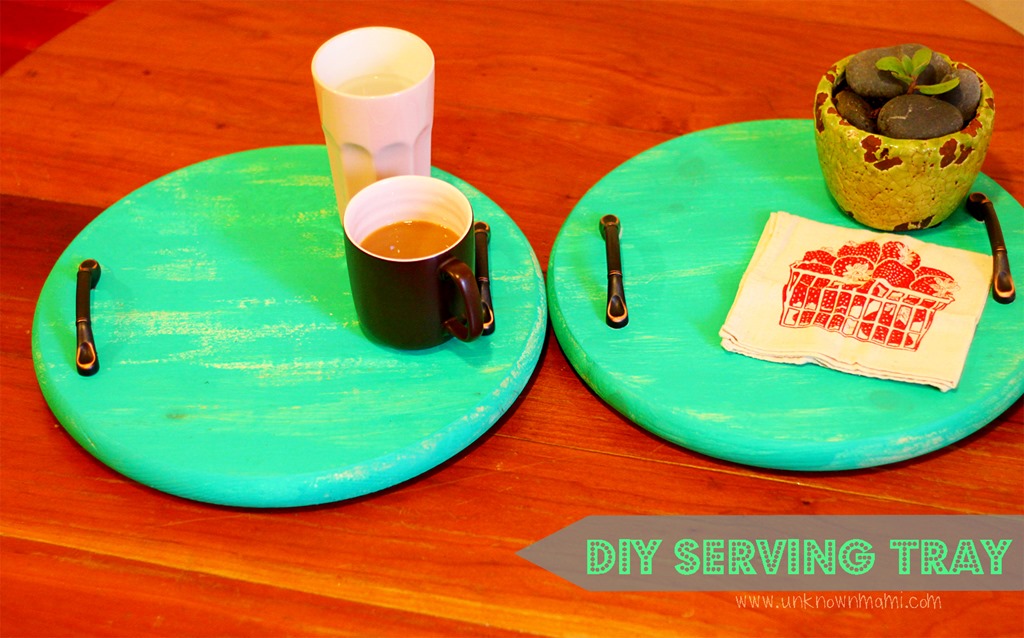
When I found out that emerald is the Pantone color of the year, I wanted to find a fun and easy way to bring it into my home. I headed to my Lowe’s store with a gift card that they had sent me burning a whole in my pocket. I had no idea what I was going to do/make. I walked up and down the aisles until I found these Ponderosa Panels and then I knew I wanted to turn them into serving trays. We don’t have a coffee table in our living room, we use a multifunctional ottoman and I wanted some trays I could set on top when we want to use the ottoman as a coffee table.
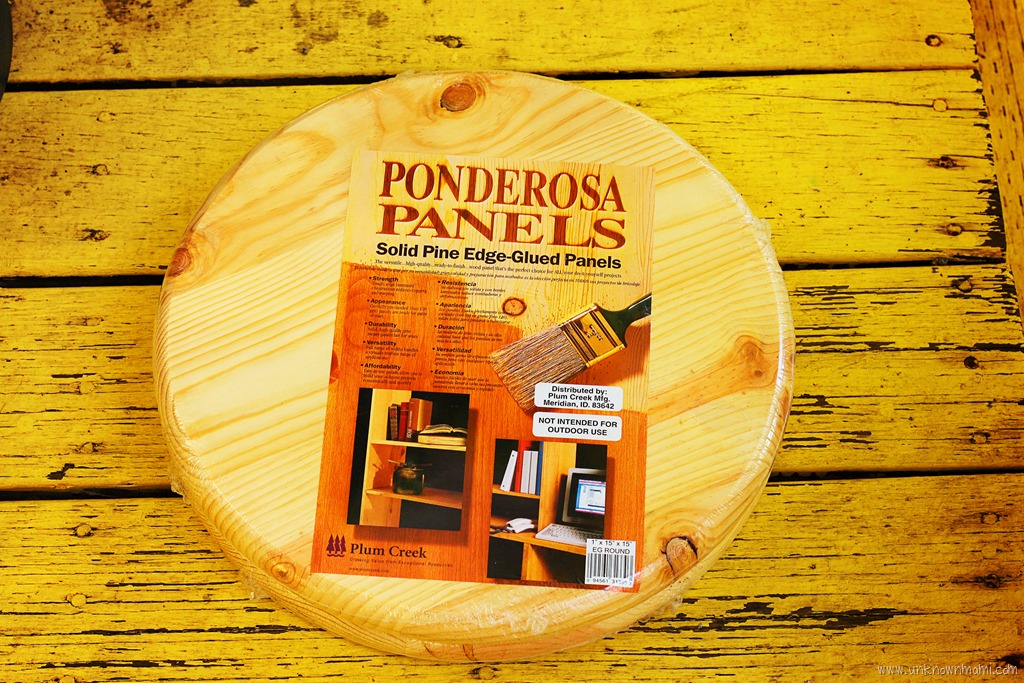
Here’s how I made my DIY serving trays.
Materials:
2 Ponderosa wood panels
Emerald Pantone color of the year paint in finish of your choice (a quart is more than enough for this project)
Brush for paint
Sealant (I used a spray paint version)
4 drawer pulls of your choice
Liquid Nails
Felt pads
Directions:
I dipped the tip of the paint brush into the emerald paint and dry brushed the wooden panels sort of haphazardly until they looked like I wanted to them to.
Once the paint on the panels dried I used spray paint sealant to coat them.
I attached the drawer pulls with Liquid Nails and let them dry for 48 hours. Alternately, you could attach them with screws, but I’m lazy.
I put felt pads on the bottoms of the tray so they wouldn’t scratch my leather ottoman.
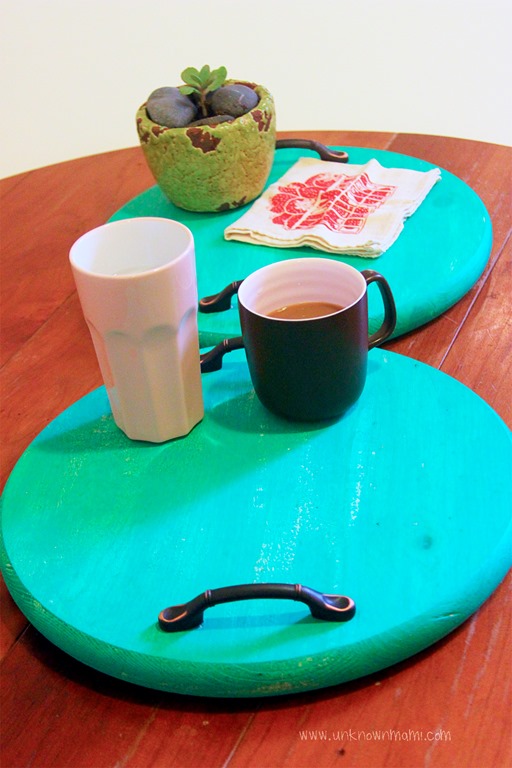
And tada!
Disclosure: I am a member of the Lowe’s Creative Ideas Blogger Network. I was provided with a gift card that I used to complete this project. All statements and opinions are mine. You can connect with Lowe’s on…
Facebook * Lowe’s Creative Ideas Website * Pinterest * Instagram
i LOVE these! another thing on my DIY list now that i am unemployed (by choice, not to worry)! thanks! xoxo
I’m a May baby too! Love this idea.
I LOVE love love this, Mami. Brilliant!
Lookin good!
those are great…online they kinda look turquoise which I love either way they are cute….now you can make your family serve you breakfast for mothers day! hah ha
I just can’t comment “looks great” and move on. I have more thoughts. Do the panels (look like stool seats?) come in larger sizes? Do they need to be sanded? I would definitely drill holes and screw the hardware on. It’s just pine so that’s a soft easy to work wood. Now some crafty woodworking people would pull out their router (I don’t have one) and cut a groove around the outer edge to catch spills.
Maybe I should have just wrote looks great and moved on.
I believe they are meant to be table tops. They come ready to paint or finish. I do own a router and I screwed in on of the pulls and then glued the rest. I could have screwed them all on, but I was curious to see how strong the liquid nails would be. It’s pretty darn strong.
Those came out really cute! Hooray for the color Emerald….
These are neat! This is the first time i heard of liquid nails. Are they a sort of adhesive?